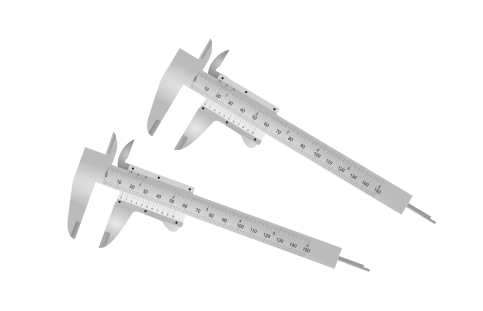
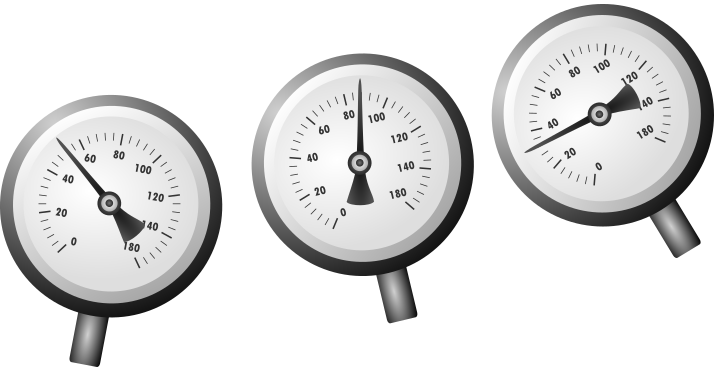
Calibration is the comparison of the measuring instrument in relation to the reference.
Calculate
Calibration calculator is the generator of uncertainties and errors in measurements that come from the instruments compared with the references.
Each value read by the instrument may have, in the calculator, an error and uncertainty range. Calibration errors and uncertainties are compared with standards.
The calculator uses important formulas, based on ISO, to calculate the results. The calibration method can be specific for each type of instrument. In calibration, the uncertainty is calculated in the repetition of readings performed on the same reference. Sometimes on pressure instruments, readings are repeated on ascent and descent. The calibration calculator represents, in this case, the fiducial errors and hysteresis on the certificate. The metrology area uses specific calculations for comparisons. Machines, for example, can be gas detector instruments, weight scales, pressure valves, pachymeters, measuring tapes, manometers, etc. Measurements are taken and compared with standards. Reference standards have calibration certificates.
In the calibration certificate, the errors, deviations and uncertainties of the measurements are placed. Data is separated by ranges and units. When the instrument measurement is made, the values are compared taking into account the errors and uncertainties of the standards. Then the uncertainty calculator also includes the errors and uncertainties of the instrument itself.

The concept of calibration can be considered as adjusting values to reduce errors in comparisons. But in metrology, calibration is considered the comparison of values with specific calculations. The sensors may have a display, where the information is officially monitored.
Gas detectors can show the percentage of the gas value. Weight scales display the weight value in units, for example g (grams), kg (kilograms), t (tons), etc. Pressure gauges can be manometers. The instruments can measure the pressure of gases or liquids, in units for example bar, kPa, kgf/cm², etc. In some cases, the calibration calculator is used with the mA unit, and converted to the pressure unit.
Value measurements must be repeated. Repeats are used in the measurement uncertainty calculator. Sometimes it is performed with references rising and falling. Calibration calculator also uses this method. These measurements are made to check the uncertainty of the same measurements. The procedure depends on the calibration method. Accuracy is important to determine instrument quality.
When calibrating weighing scales, standard weights with nominal values can be used. Weights are measured with repeatability. And also in the calibration can be used the calculation of the eccentricity. It depends on the position of the weights on the weight scale. Results, of the calculator, are included in the calibration certificate. The weight scale can also have several ranges. The resolution, which is the smallest division of the readings, is also considered in the calibration uncertainty calculation.

Instruments with a digital display may have the smallest division between readings. But instruments with analog measurements, for example a manometer gauge, the smallest actual division can contain more information in the calibration.
Calculate
Multimeters can have various units and ranges, for example V, mV, mA, W, etc. In the calibration calculator, the repetitions of the measurements are carried out in the rise and fall of the values. In this way, the comparison of the values with the references, are divided by units and ranges in the calibration certificate. In the complete calculation, the propagation of errors and uncertainties that come from the origin of the standards is carried out. The sources of uncertainties are reported as type B. And the calculations of errors and uncertainties from the calibrated instrument are combined with the error and uncertainty formulas. Linear and polynomial regressions are sometimes used to ensure measurement quality.
Calibration should seek to improve the quality of measurements. Regressions, in the calculator, can represent the most accurate curve average according to reality. The calibration of the results of errors and uncertainties help in the quality of the measurements.
Generally, in the calculator, a maximum permissible error or tolerance is defined for each specific area or working range of the instrument. During the real-time measurement of the instruments, the error and uncertainty, from the uncertainty calculator, must be compared with the maximum permissible error or defined tolerance. Calibration, in the calculator, for the quality of measurements, for example of sphygmomanometers, is important. Pulse pressure measurements should have errors and uncertainties less than the maximum permissible error with good quality values. An instrument that calibration is also performed is the safety valve. Pressure measurements are repeated with reference comparison.
Calculate
The calibration calculator curve graph can contain the values, deviations, uncertainties, linear and polynomial regressions for the analysis of results. And a graph of each calibration of an instrument separated by dates and years is also generated. Results may vary. And it is interesting to be accompanied. Each calibration of an instrument can have a maximum validation date internally. On this date, a new calibration is performed. When each instrument calibration is performed, a certificate is generated. The procedure is also placed on the certificate according to the calibration method.
Calculator accuracy is important to the quality of results. The smallest division of the values, which is close to the resolution, depends on each equipment. In the calculator, the resolution and smallest division can be taken into account. Number results may vary with the smallest division, but calculator data may have high quality resolution. The calibration calculator is used to aid in the errors of instrument measurements. To try to verify the accuracy of the measurements, a reference standard with the calibration is needed. The calculator uses standard error propagation.
Calculator can be used by software. The calibration software must have the automatic calculator. The calibrations management contains the standards. The calculator analyzes the origin of the propagations and the history of the results.
The certificate has the results, instrument data, date, person in charge, information and the official certificate number. They can be generated through calibration software. Usually in metrology laboratories or industries.