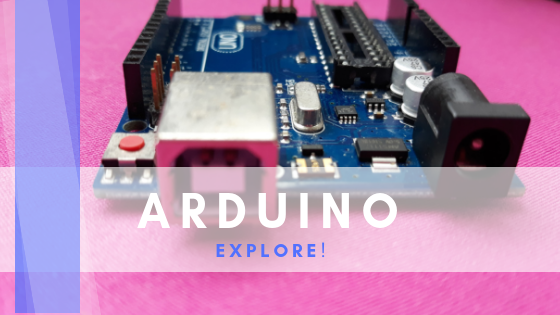

For those who don’t know yet Arduino is an open-source platform, both hardware and software. Thus, the project is basically a low cost electronic board, easy communication and very affordable. The project has grown a lot in recent years, so there are several models of boards for each type of application. This way it can be used for interactive Internet of Things (IOT) projects in companies, universities and even schools for learning physics, logic and problem solving skills.

Arduino Advantages
Cost
The cards can be easily entered in physical and virtual stores. This makes the value more affordable.
Multiplataform
Its IDE is compatible with Windows, Linux and MacOs operating systems, by contrast most microcontroller systems operate on Windows only.
Clean and easy programming environment
Its IDE is simple for beginners, but it is also super flexible for more experienced users.
Open Source: Software and Hardware
The source code is open and can be extensible through libraries created in C ++. Similarly, the hardware can be customized. This means that any designer can develop their own hardware based on Arduino boards.

How to communicate Arduino with SCADA LAquis in 3 steps:
First we will create a serial or Ethernet communication protocol. Following we will define frames in Arduino, bytes of data to send and return. And lastly we will create a driver.
-
-
Create a communication protocol in Arduino, as in the example below.
byte valuearray [ 100 ] ;  // Array of values

void setup ( )  {
 // Initialize serial and wait for port to open:
  Serial. begin ( 9600 ) ;
  while  ( ! Serial )  {
    ;  // wait for serial port to connect. Needed for native USB
  }
}


void loop ( )  {
 byte node ;
 byte command ;
 byte address ;
 byte value ;
        // send data only when you receive data:
        if  ( Serial. available ( )  > =  4 )  {

                // read the incoming byte:
                 node = Serial. read ( ) ;
                 command = Serial. read ( ) ;
                 address = Serial. read ( ) ;
                 value = Serial. read ( ) ;

                 if  ( node ==  1 )  {
                  if  ( command ==  1  )  {
                    value = valuearray [ address ] ;
                  }  else
                  if  ( command ==  2  )  {
                    valuearray [ address ]  = value ;
                  }

                    Serial. write ( node ) ;
                    Serial. write ( command ) ;
                    Serial. write ( address ) ;
                    Serial. write ( value ) ;
                 }
        }
}
-
After creating the communication protocol in Arduino, create the driver using the editorldriver.exe application that is available in the LAquis installation directory. As per model below.
// Param1 = address
// Param2 = node
ldriver 3.0
: TimeOutBytes = 100
: Try = 3
: CacheTimeOut = 1000
: NoCloseComTry = 1
: Hold = 0

? Command = 1  // Read
> node 1 address 0
< node 1 address * value
.

? Command = 2  // Write
: CacheTimeOut = 0
> node 2 address value
< node 2 address value
.
-
Lastly …
-
Save the driver as example.ldriver. In LAquis select: Driver → Example → Config and select the serial port.
In type Param1 set the address with a number from 0 to 255.
In type Param2 parameterize the address of node 1.
In the “Sampling” column type 1s. Finally, to test, just click the Call button.